A bit of technical information
The Key Signature message is a meta message that consists of 5 bytes of data with the format 0xFF 0x59 0x02 0xsf 0xmi.
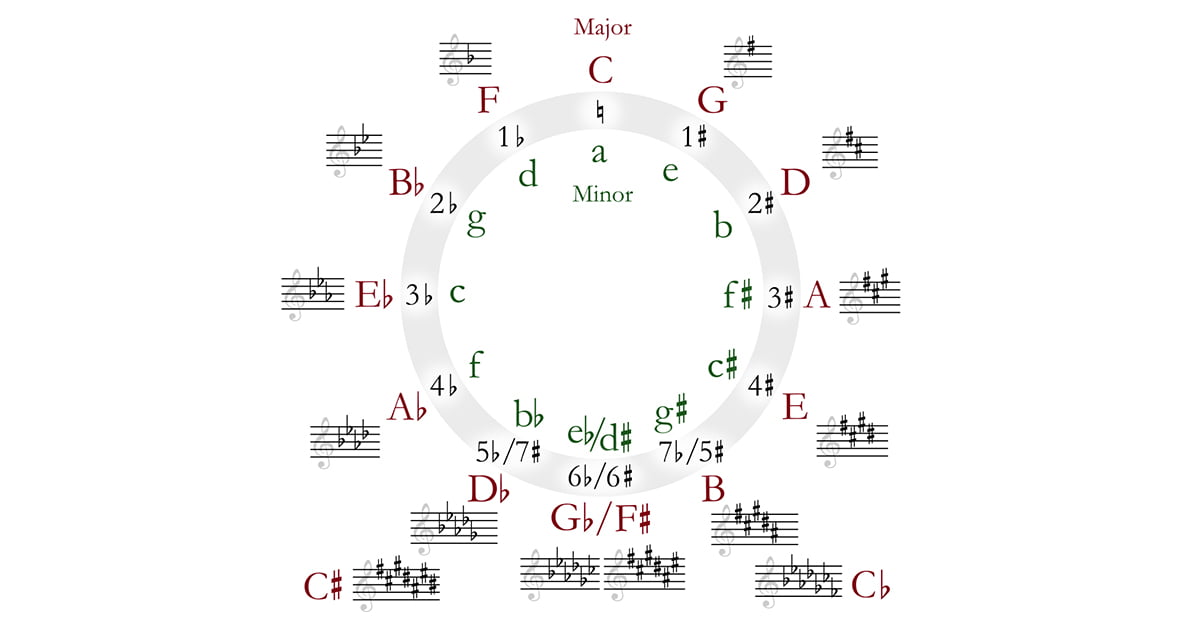
sf specifies the number of sharps (or flats) of the key, while mi defines whether the key is major or minor. The prefix “0x” is used to indicate that the numbers are hexadecimal. sf can take values from -7 to 7. When positive, the number shows how many sharps the key has; when negative, how many flats. 0 means that the key has neither sharps or flats. mi can take only two values, either 0 or 1, with 0 meaning that the key is major and 1 that the key is minor. When a MIDI file lacks a Key Signature message, the key is assumed to be C major (0xFF 0x59 0x02 0x00 0x00) .
For example, the message 0xFF 0x59 0x02 0x03 0x01 sets the key to F# minor (minor key with 3 sharps) while 0xFF 0x59 0x02 0xFC 0x00 sets the key to A♭ major (with FC being the hex value of -4).
The table below shows all the possible values for a Key Signatature message and the equivalent keys.
| (+) Sharps / (-) Flats | Major Key (mi = 0) | Minor Key (mi = 1) |
|---|---|---|
| -7 | C♭ | A♭ |
| -6 | G♭ | E♭ |
| -5 | D♭ | B♭ |
| -4 | A♭ | F |
| -3 | E♭ | C |
| -2 | B♭ | G |
| -1 | F | D |
| 0 | C | A |
| 1 | G | E |
| 2 | D | B |
| 3 | A | F# |
| 4 | E | C# |
| 5 | B | G# |
| 6 | F# | D# |
| 7 | C# | A# |
Setting the key signature in Cubase
Fortunately, most DAWs allow you to assign a key without messing with code and hex values directly. Below I’m showing how to set the key signature of a MIDI file in Cubase.
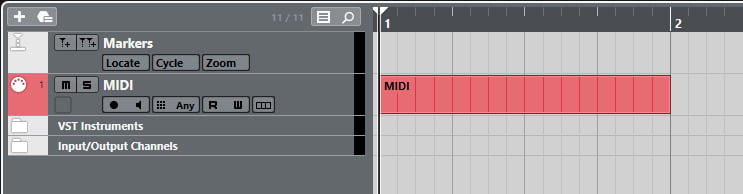
1. Create a new MIDI part. With the part selected, open the List Editor by selecting MIDI → Open List Editor from the top menu.
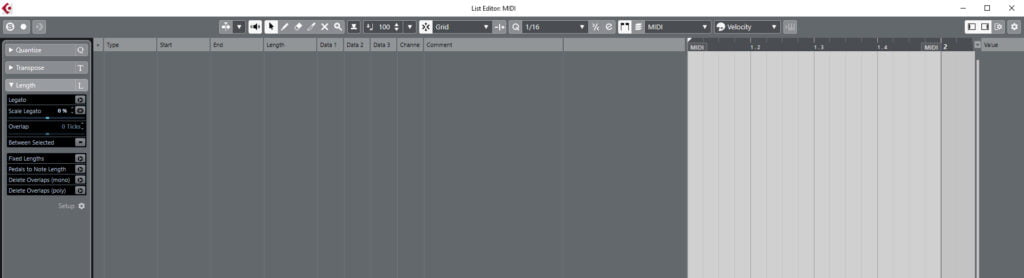
2. Change the Insert Event Type to “SMF” by clicking the icon next to the zoom tool shown in a red circle below.

3. Using the Draw Tool (default hotkey: 8) create a new SMF event at the beginning of the MIDI object.
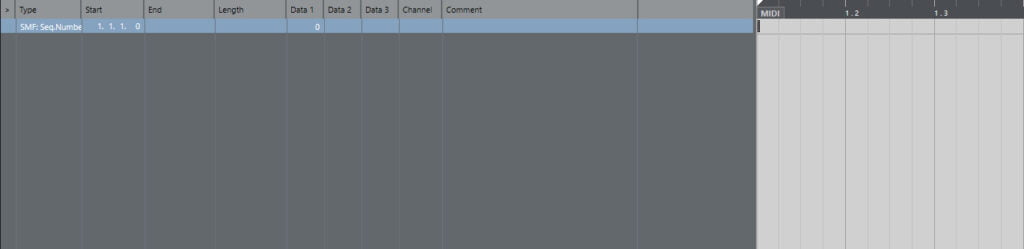
4. The Type of the event is currently set to “SMF:Seq.Number”. Double click “Data 1” and set it to the number 89. You’ll notice that the Type has now changed to “SMF:Key signature”.
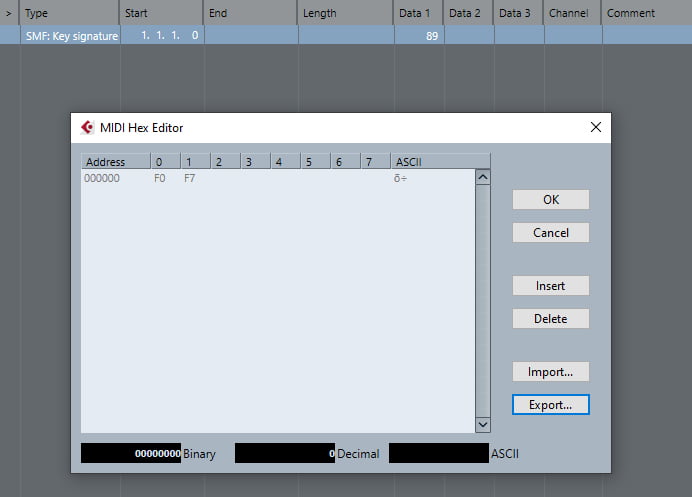
5. Clicking under “Comment” will open up the MIDI Hex Editor. Click on “Insert” two times. This will create two bytes in positions 1 and 2 to hold the values for the Key Signature event.
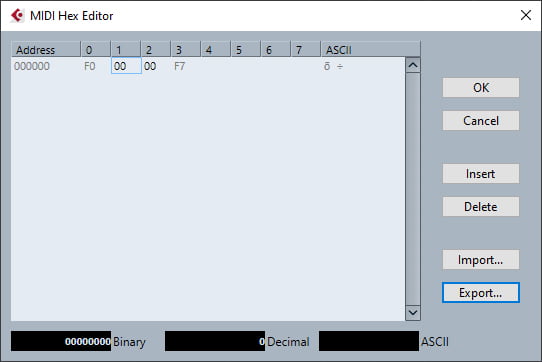
6. Change the first value to the number of sharps or flats of the desired key, as described previously in the tutorial (positive values from 1 to 7 for sharps, negative values from -1 to -7 for flats, 0 for no sharps or flats). You don’t need to input hex values; Cubase will automatically convert decimal to hex for you. I’m setting the value to -3 (3 flats) for this guide.
7. Change the second value to 01 if the desired key is minor or leave it as 00 if the desired key is major. The values you see below set the key to C minor.

8. Press “OK” when you’re done. The key signature is now setup properly. After exporting the MIDI file, the key related data will be recognized by MIDI players, sequencers, and editors that adhere to the MIDI specification.
Further reading
Official MIDI Specifications
Key Signature article on recordingblogs.com